Vinyl decals are different than your ordinary sticker but have no fear! They aren’t that difficult to apply if you know what you are doing. Done correctly, vinyl is rated to last years even in outdoor conditions (less for special effects such as patterns or holographic).
Vinyl Decal Application Process Overview
- Clean surface (rubbing alcohol works great)
- Rub decal onto transfer sheet
- Remove waxed backing sheet slowly
- Line up decal and press onto surface
- Slowly remove transfer paper
- Smooth decal
Only dry, non-porus surfaces are recommended for vinyl decals, and application temperature should not be less than 50 degrees Fahrenheit. The backing paper being bent doesn’t affect the vinyl’s final application, it doesn’t crease.
Detailed Tutorial with Photos!
Starting The Process: Prep and clean!
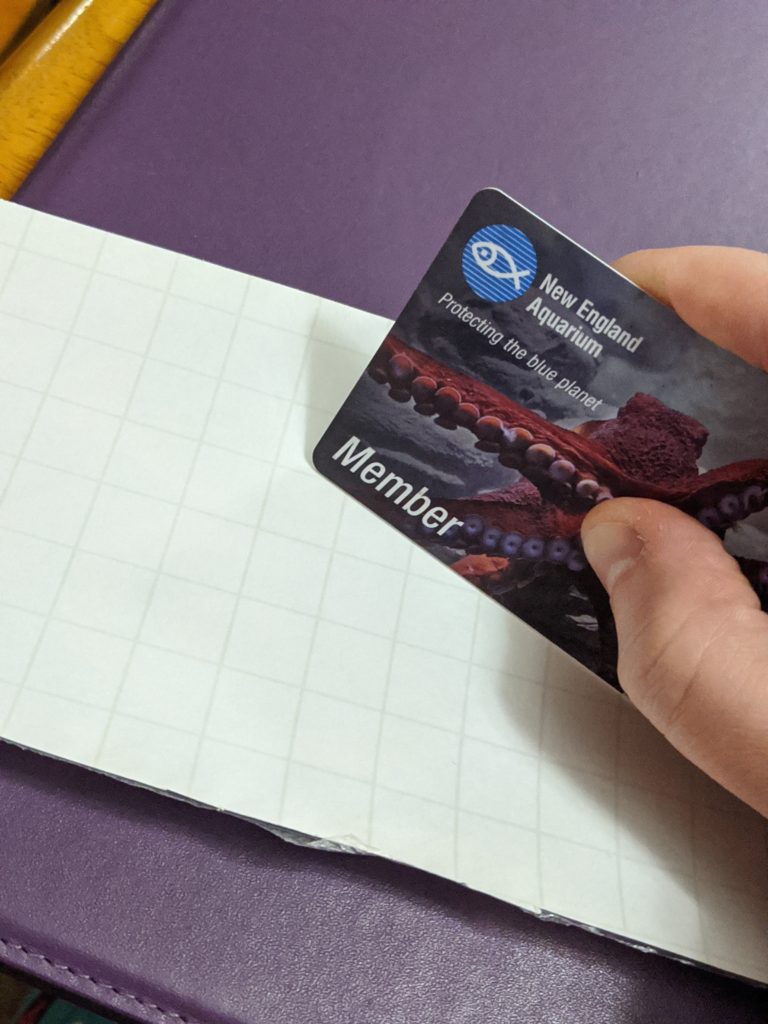
You will need to gather supplies including the decal, the item you are attaching it to, some 70% rubbing alcohol (I suggest a lower content than I am using here to avoid stripping paint) or a similar cleanser that is appropriate to the surface you are applying to, and an old credit card, coin or squeegee.
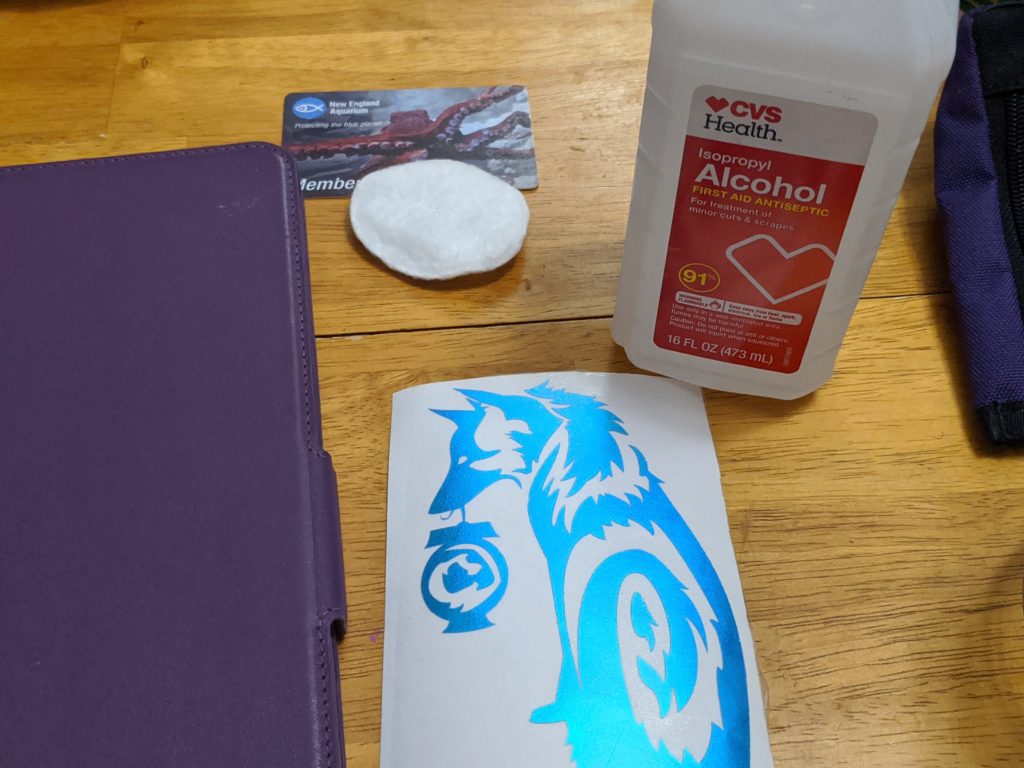
First, clean and prepare the application site. This is important for good adhesion!
The instructions for applying vinyl decals are the same regardless of if it’s a car, skateboard or an iPhone. Please use common sense regarding cleansers, if it has paint that can be stripped do not use a strong cleanser! User assumes all risk.
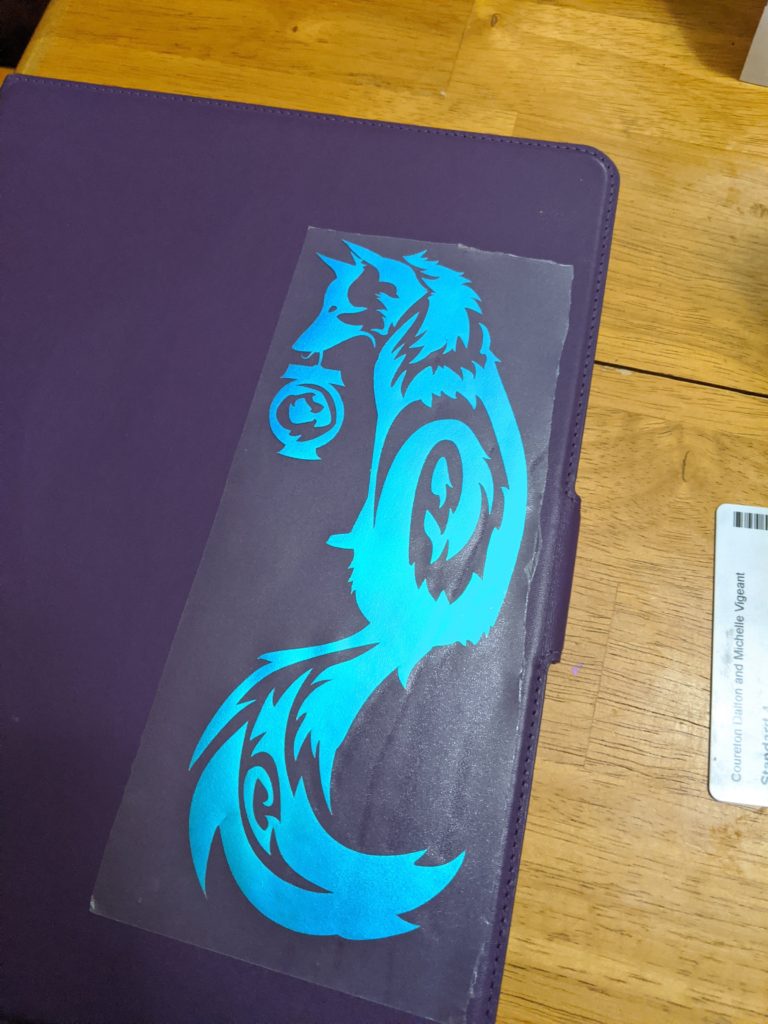
Next, Rub the Vinyl Decal onto the Transfer Tape
Next, rub both sides of the decal to ensure adhesion. You may have to repeat this several times throughout the process.
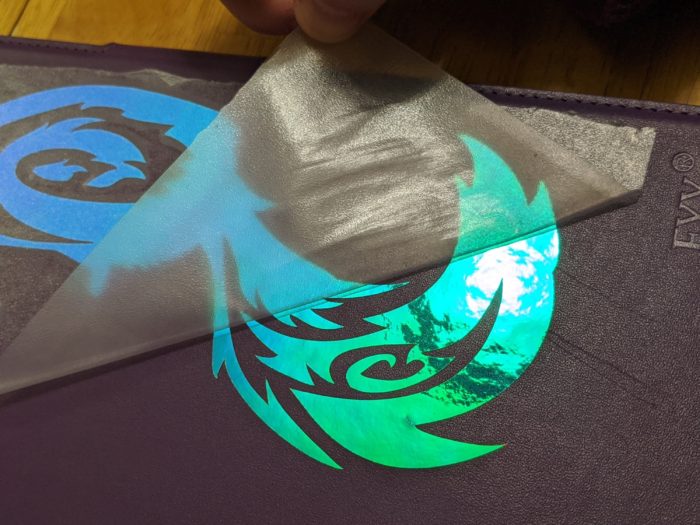
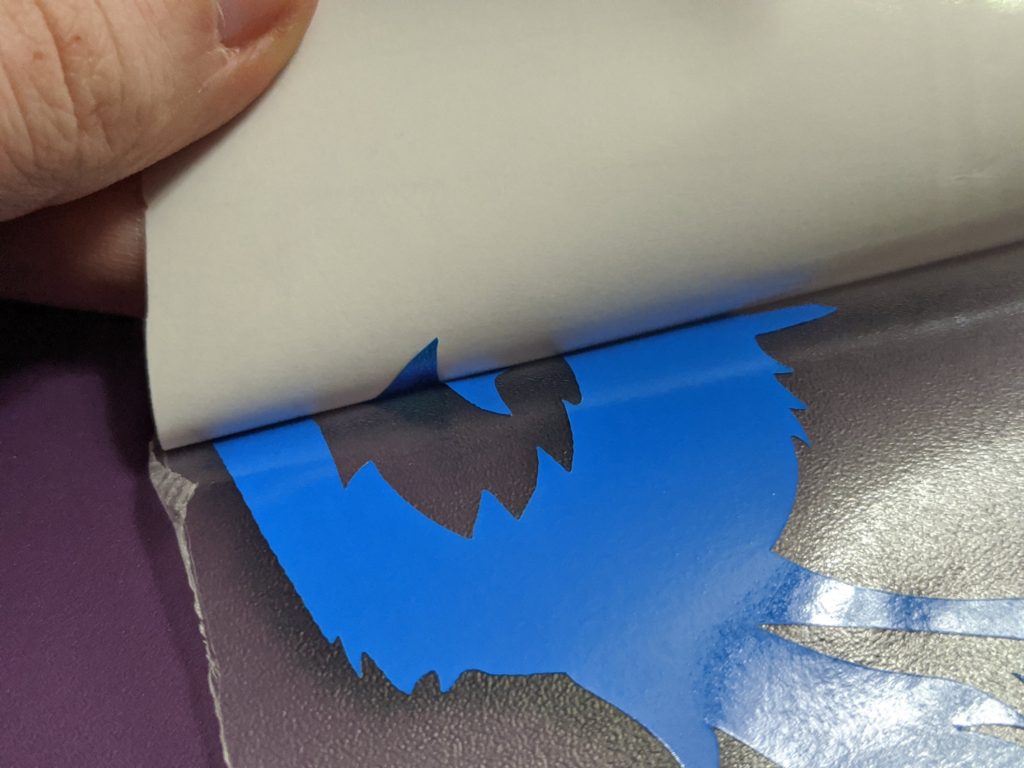
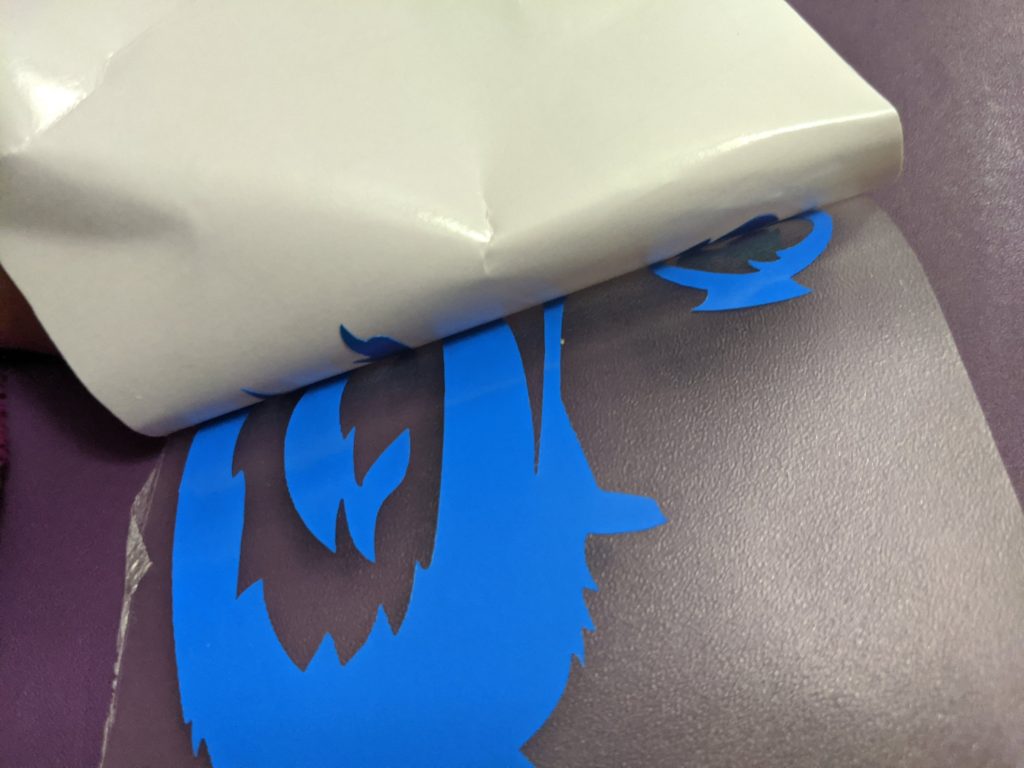
Lift The Backing Paper
Third, VERY SLOWLY lift the transfer tape at a tight angle. It may be clear or a translucent sticky paper depending on the decal, either way it works the same.
Here the middle is sticking and needs more rubbing.
You will need to make an angle, and might need to re-rub areas, particularly if there is a lot of detail. It is normal for this step to take some time, and not a sign of quality. Lifting too quickly can rip or damage the decal, so SLOW is key.
It is important to try not to touch the sticky areas with your fingers which can leave oils that affect adhesion.
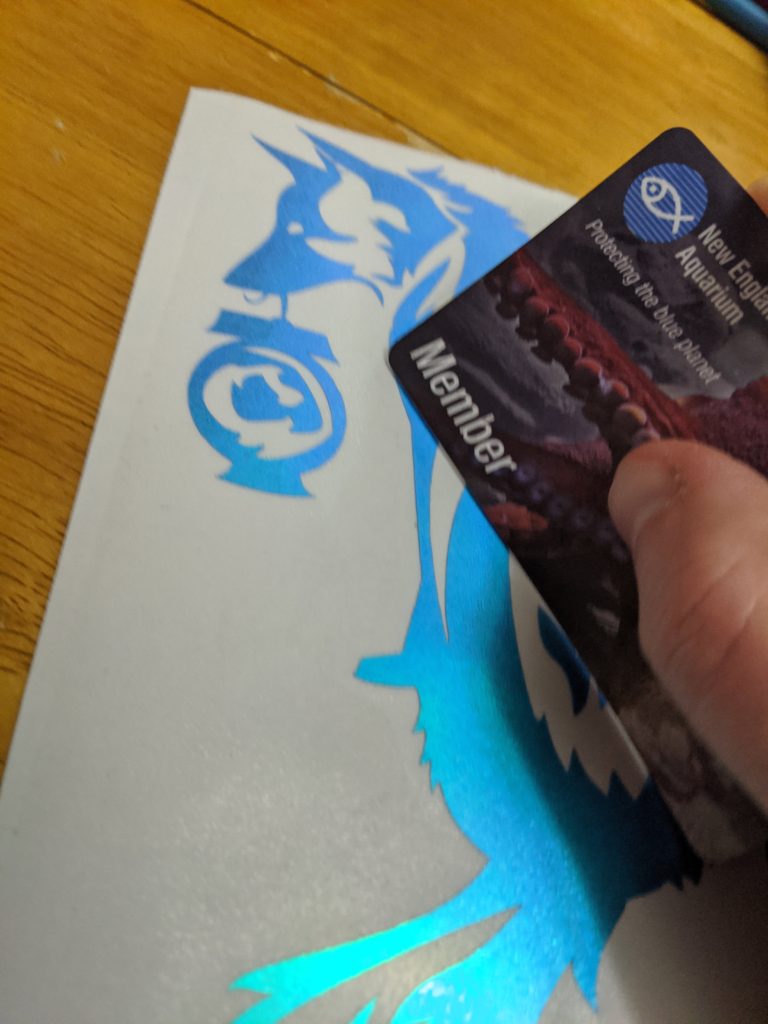
Line Up and Apply!
Carefully line up where you want the vinyl decal. You can use a tiny bit of chalk if you need it to be perfect. Once you start to stick it, it’s hard to correct!
Next, carefully buff the decal with the credit card onto the surface. Make sure to go over small details! You know you are doing it right if the transfer tape looks like it is sticking better to the item you are decorating 😉
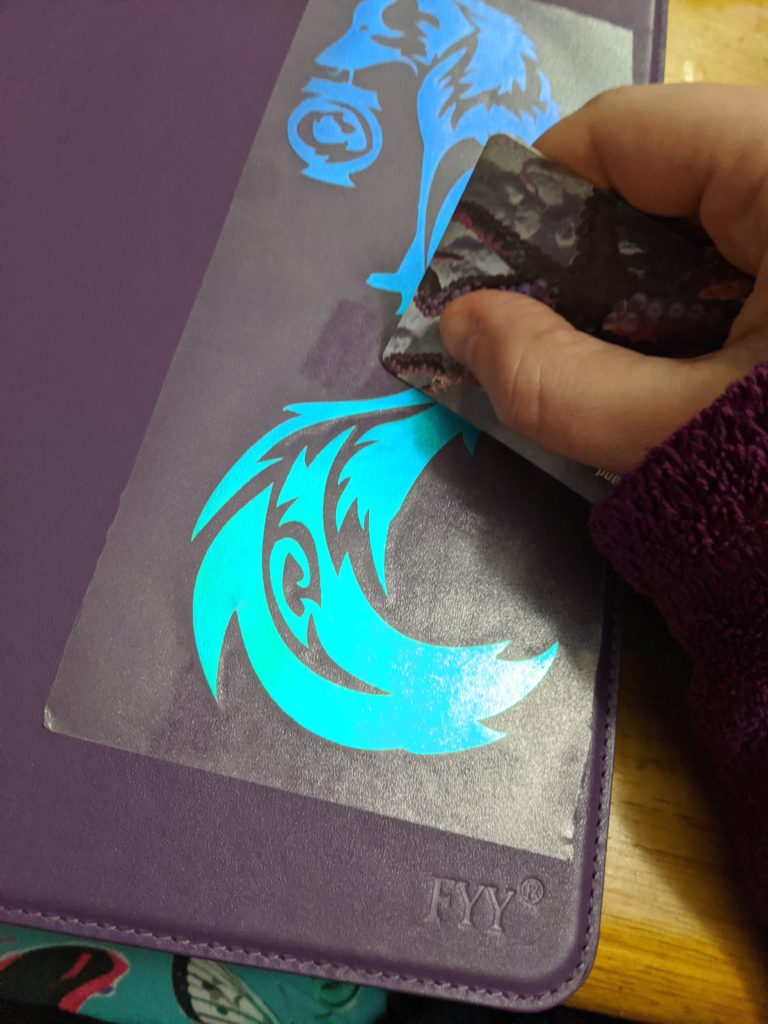
Now you can slowly remove the tape. Try to pull at a tight angle as shown below, this helps. Just like the steps before, you want to move carefully to avoid removing any detail. It is OK to put the film back and buff again to be sure!
Remove Transfer Tape

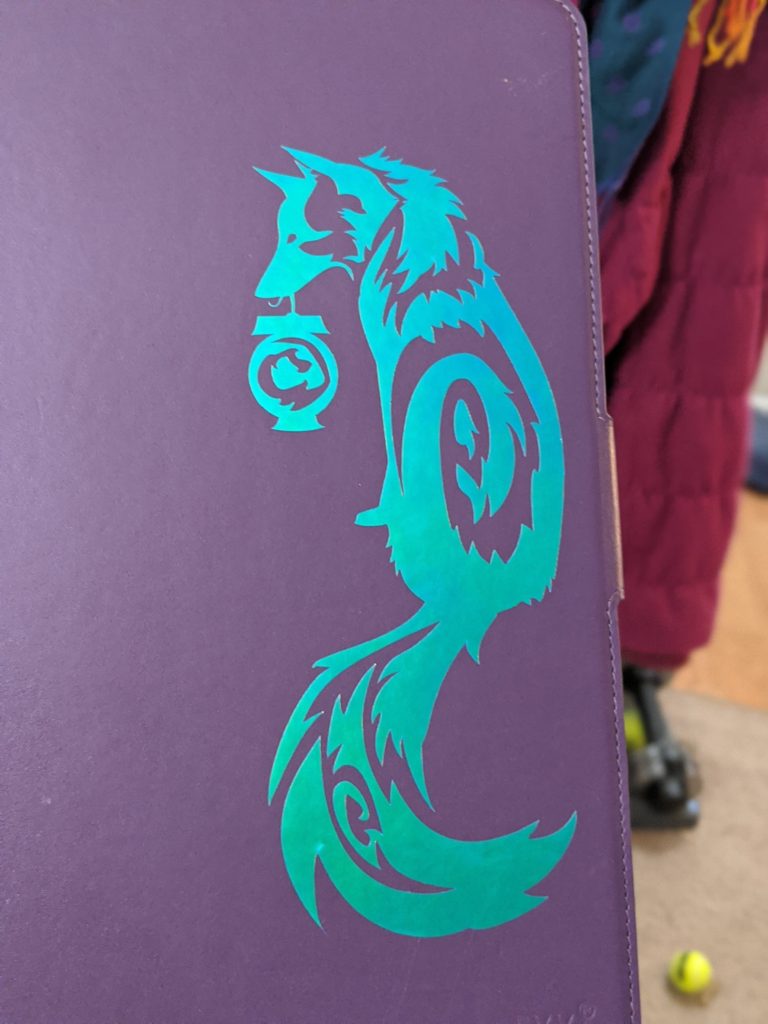
Smooth Decal With Fingers
Finally, smooth over the vinyl carefully to remove air bubbles. You are all set!
-
 Blackwork Stretching Cat Decal$6.00 – $15.00
 -
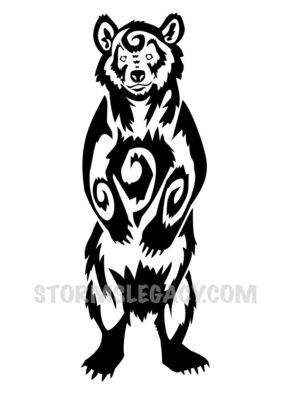 Blackwork Standing Bear Decal$6.00 – $15.00
 -
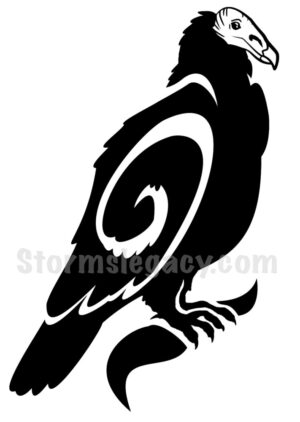 Turkey Vulture Decal$6.00 – $15.00
 -
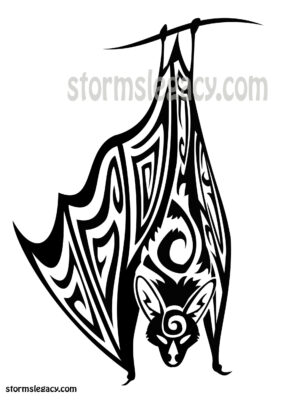 Bat Decal$6.00 – $15.00
 -
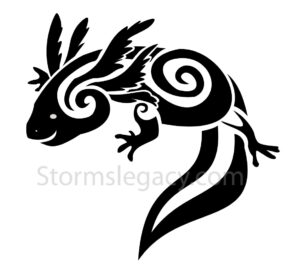 Axolotl Salamander Decal$6.00 – $15.00
 -
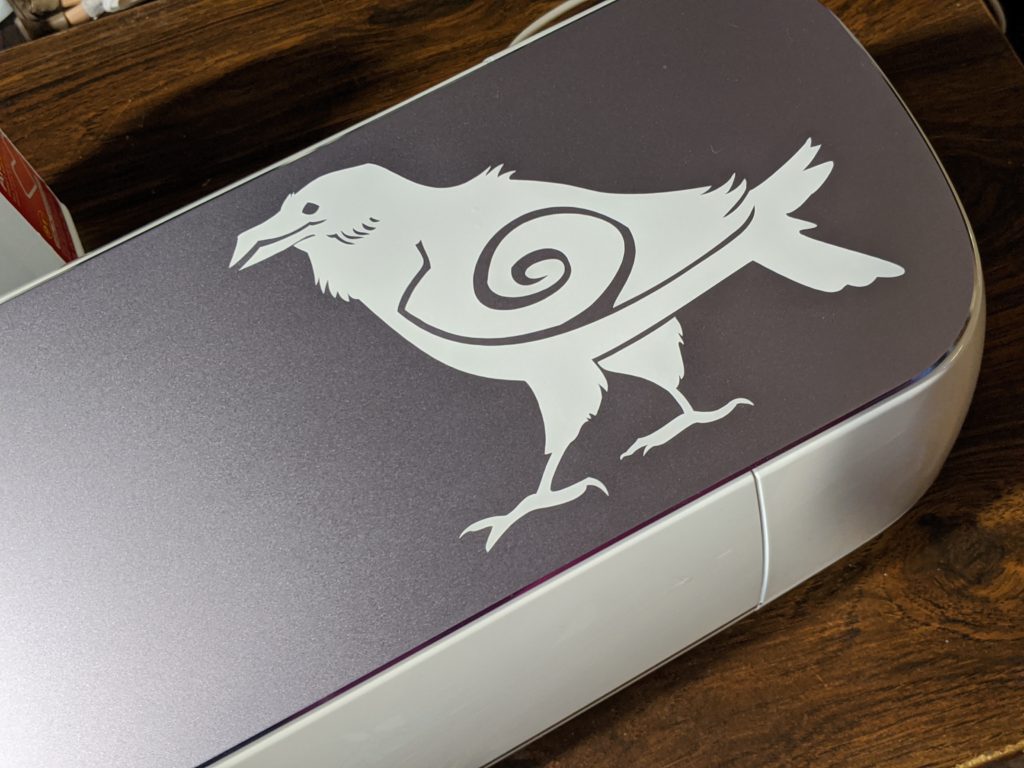
 Raven Decal$6.00 – $15.00
 -
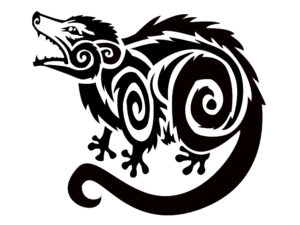 Possum Decal$6.00 – $15.00
 -
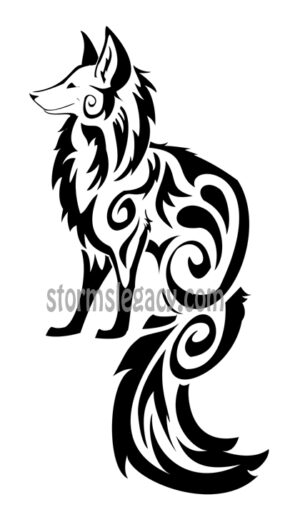 Smiling Fox Decal$6.00 – $15.00
 -
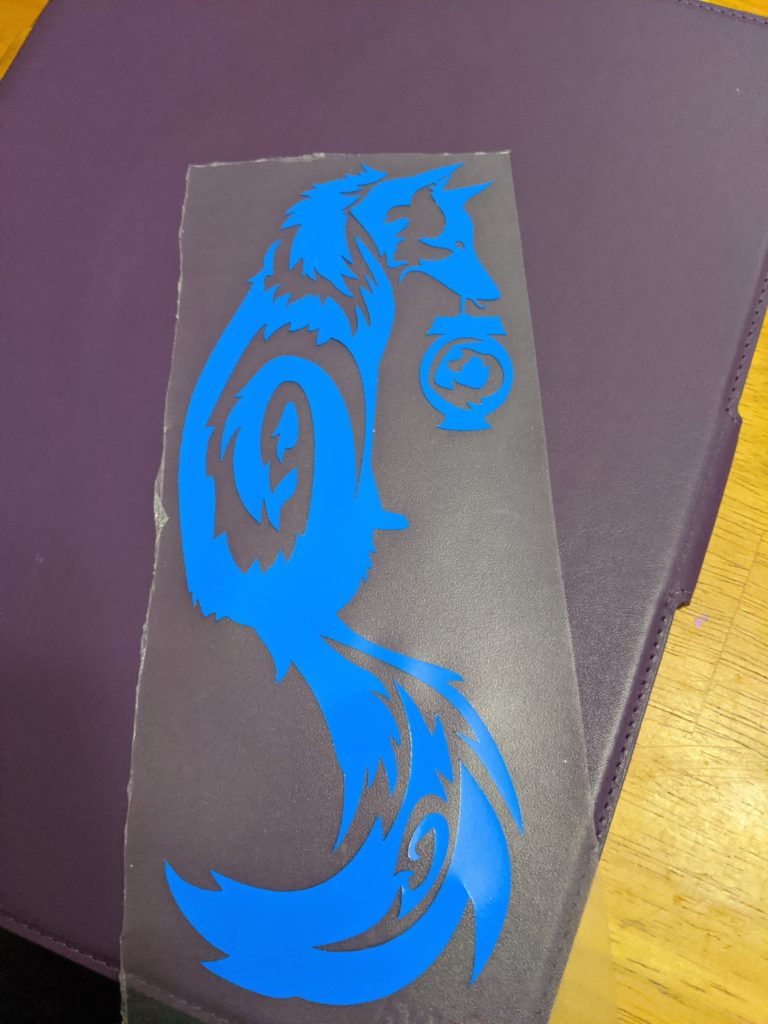
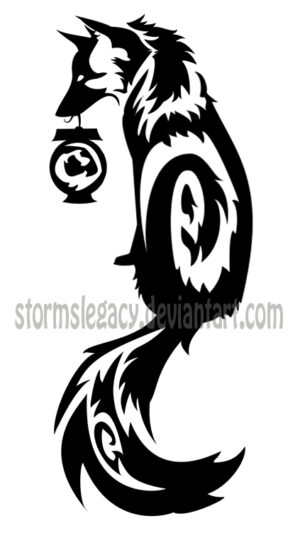 Kitsune Lantern Fox Decal$6.00 – $15.00